Table Of Content
- Using Images
- Project Preview Screen
- A Print then Cut Project, Start to Finish
- How to Fill Letters with Photos in Cricut Design Space
- Get my free download of floral frames to learn how to do sublimation with Cricut Design Space here:
- How to Make a Paper Purse with Realistic Accessories!
- Print and NOT Cut Background and get rid of Back Frame in Design Space
If you calibrate after printing a sheet, the cut lines might not match up anymore! See my Print then Cut printer calibration video for more information. Excited to try out the expanded Cricut Print and Cut Size?
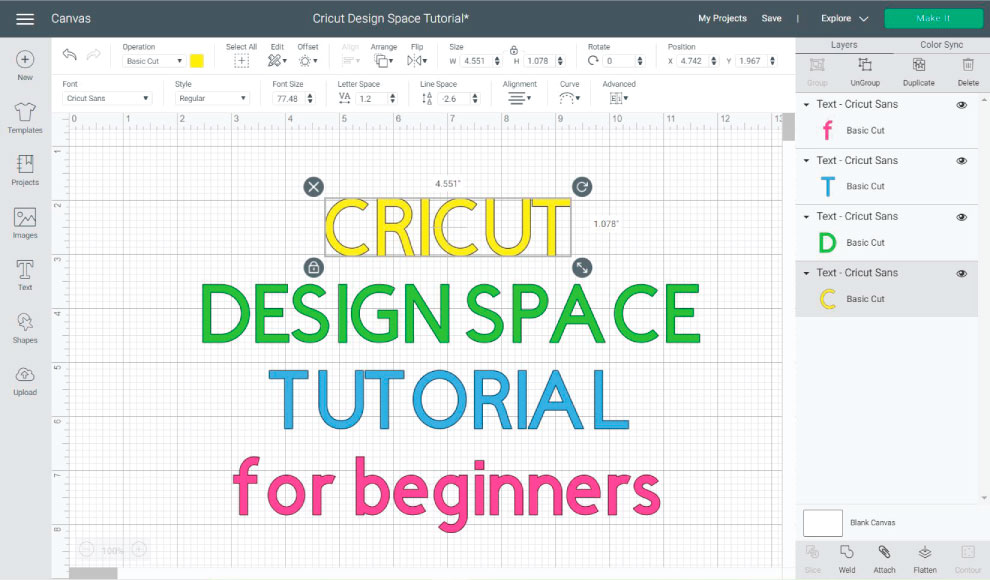
Using Images
Add a square to the canvas from the “Shapes” icon, and change the size to the max size we can with a letter-sized paper (6.75 x 9.25 in). Don’t forget to click on the little lock to unlock the square’s proportions. Maybe you want to add a title or tiny elements to decorate your project.
Project Preview Screen
I turned off the bleed, but it doesn’t matter because the edge of this design is white. Once you align the stickers and the rectangle, keep the selection, click “Duplicate” on top of the layers panel, and move the copy to the right. As you can see, both designs look identical, but after the machine is done cutting the rectangle that was “Flattened,” it performed only one cut, the outside of the rectangle. On the other hand, the ” Attached ” design cut the rectangle and the letters inside it. Get ready because today’s tutorial is full of juicy tricks.
A Print then Cut Project, Start to Finish
Make sure your sublimation paper is loaded correctly and continue. On the Prepare screen, make sure that the photo mat is mirrored. On the plain shape mat, change the Material Size to match your EasySubli. With the photo image selected, go to the Operation menu and select "Basic" under "Cut." The image should turn to a solid gray. Select it and one of the photo layers and then click on "Slice." Delete the unwanted layers. Using the Layers Panel, select and delete the gray slice layers and the right hand side of the floral frame.
Cricut projects: must-try craft ideas for 2023 - Creative Bloq
Cricut projects: must-try craft ideas for 2023.
Posted: Wed, 04 Jan 2023 08:00:00 GMT [source]
This will turn your image in to a single layer image that is ready for the print then cut function. Yes, there is a maximum size limit for print and cut projects. If you receive a notification about exceeding the maximum size, scale down your design within the specified limits to ensure successful printing and cutting.
Sublimation With Cricut – Create & Print In Design Space!
So if your Cricut is saying it can’t read the sensor marks, dim the lights and draw the blinds before trying again. Once your image or images are in place, you'll need to highlight them and click the Attach button to stop it from moving around the page on the next step. Whilst your images are highlighted, just double check that all your images are set to Print Then Cut, if not, you'll need to click the Flatten button again.

Then, click on the “Preview” button in the bottom left-hand corner. It will bring up a printable version of your design. Finally, click on the “Print” button in the bottom right-hand corner and choose your printer settings. Your design will now print out on your preferred printer. Click Print and print your stickers on your printable vinyl. Now, when you go to print and cut your image, it will have a nice white border around the image and your Cricut won’t try to cut out all of those tiny pieces.
Once you’re happy with the design, click on the “Print” icon in the top right corner of the canvas. Before you can print from Cricut Design Space, you need to install the Epson printer driver on your computer. You can download the driver from the Epson website or use the installation CD that came with your printer. The first step is to connect your Epson printer to your computer using a USB cable or over Wi-Fi. If you have any trouble with the connection, consult the printer manual or manufacturer’s website for assistance. Before you cut Iron-On or Infusible Ink transfer sheets, mirror your mats so your design will be properly oriented after application.
This will help the machine find the sensor marks and cut them accurately. You’ll also need to ensure your paper doesn’t have any wrinkles or creases, as this can damage your cut and result in inaccurate results. Once you’ve printed your design, line it up on a standard grip mat, feed it in to your Cricut machine and click Cut. The sensors will then read your image and start cutting. The uploading process is the same as above but as you can see, you won’t be given an option on whether to print and cut.
After your design has printed, set it aside until the ink is completely dry to avoid any smears during the cutting process. Trim away the black marks using scissors, leaving some white space above and below the images. Using a paper trimmer, trim along the straight seam line sides of each half. Make sure there is no white showing to the side of the design's seam. Click "Make it." On the Prepare screen, make sure the Material size is 8.5" x 11" and "Mirror" is toggled on. If the images are very close to the black registration marks, you can drag them to the center a bit.
One of the great things about Cricut Design Space is that it is compatible with many printers. Whether you have an Inkjet printer or a Laser printer, you can use it with Cricut Design Space. However, there are a few things to consider when choosing a printer for Cricut Design Space. First, make sure that your printer is compatible with your operating system.
I always used “Flatten”; therefore, I couldn’t do stickers with the background because Cricut would’ve cut a rectangle. The sticker paper I’m using is relatively thin, so I selected the option “Copy Paper – 20 lb” and set the pressure for more. We’re not going to print that layer; however, you need to click on “I’ve already printed” so you can move forward. Before changing any operation or flattening, select the group on the “Cut Layer” and click on “Weld” at the bottom of the layers panel to have a simple layer. If you like a “bleeding” effect on your stickers, let me show you how to proceed.
When the time is up, you can remove the butcher paper. To prevent ghosting, let the print cool for a couple minutes to let the sublimation process complete. After it has cooled, remove the tape, paper, and cardstock. When the press is ready, preheat your t-shirt for 10 seconds.
Select all four layers and Select "Center" in the "Align" menu. Using the t-shirt guide, find where you'd like to place the image. Place a clean sheet of white cardstock in between the front and back of the t-shirt.


No comments:
Post a Comment